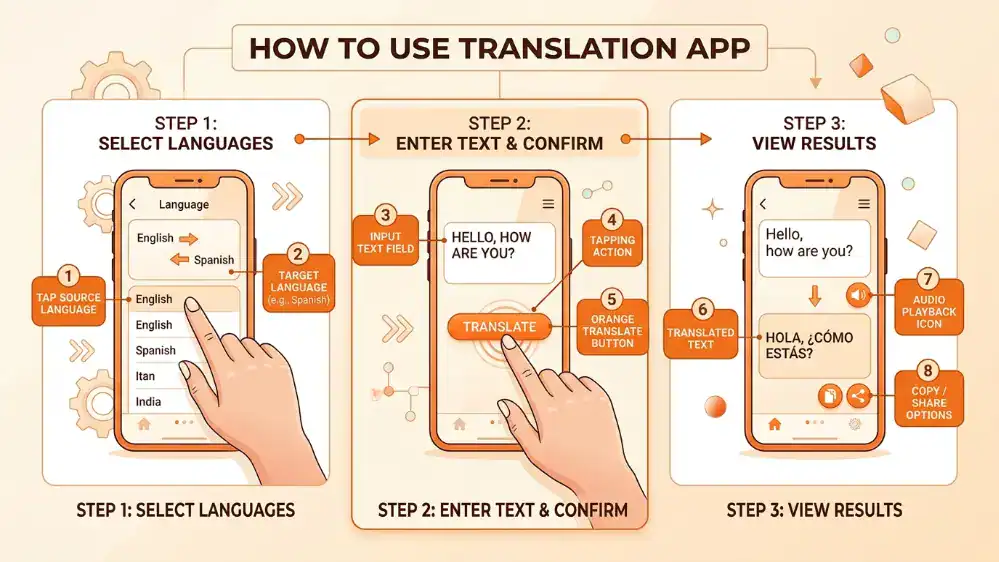
Google Translate looks simple on the surface, two text boxes and a swap button, but there’s more packed into it than most people realize. This guide breaks down how to use the app properly, from basic text translation to camera mode, voice conversations, and offline setup. If you haven’t installed it yet, our full Google Translate app guide covers download and setup on every platform in more detail.
Step 1: Download and Open the App
If you haven’t already, get the app from the Play Store or App Store depending on your device. Open it, and you’ll land on the main screen with two language boxes, one for the language you’re typing in and one for the language you want translated into.
The first time you open the app, it may ask for microphone and camera permissions. Grant both now rather than waiting until you’re mid-conversation and need voice or camera mode urgently, since digging through phone settings to approve a permission in the moment is annoying and avoidable.
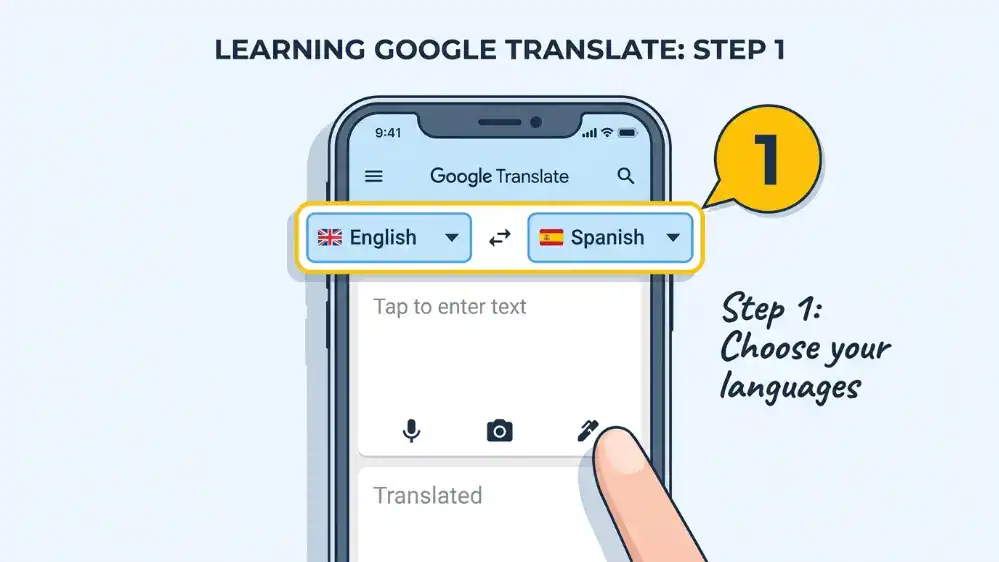
Step 2: Set Your Source and Target Languages
Tap the language names at the top of each box to change them. If you’re not sure what language you’re looking at, tap “Detect language” and Google will figure it out automatically once you type or paste text. This is particularly handy when someone hands you a note or document in a language you can’t even identify by sight.
Once you’ve set a pair you use often, like English and Hindi, the app remembers it as a recent pair so you don’t have to reset both dropdowns every single time you open the app. If you deal with Hindi specifically, our English to Hindi translation walkthrough goes deeper into script settings and formality options for that pair.
Step 3: Type or Paste Text to Translate
This is the most basic function and still the one most people use daily. Type directly into the top box, and the translation appears instantly below it. You can also paste copied text from another app, which is handy for translating long messages or emails without retyping anything by hand.
For longer paragraphs, the app handles multiple sentences fine, though breaking a large block of text into shorter chunks tends to produce cleaner, more natural results than pasting one giant wall of text at once. This is especially true for languages with very different sentence structures from English, where long compound sentences can confuse the translation model.
Step 4: Try Voice Translation
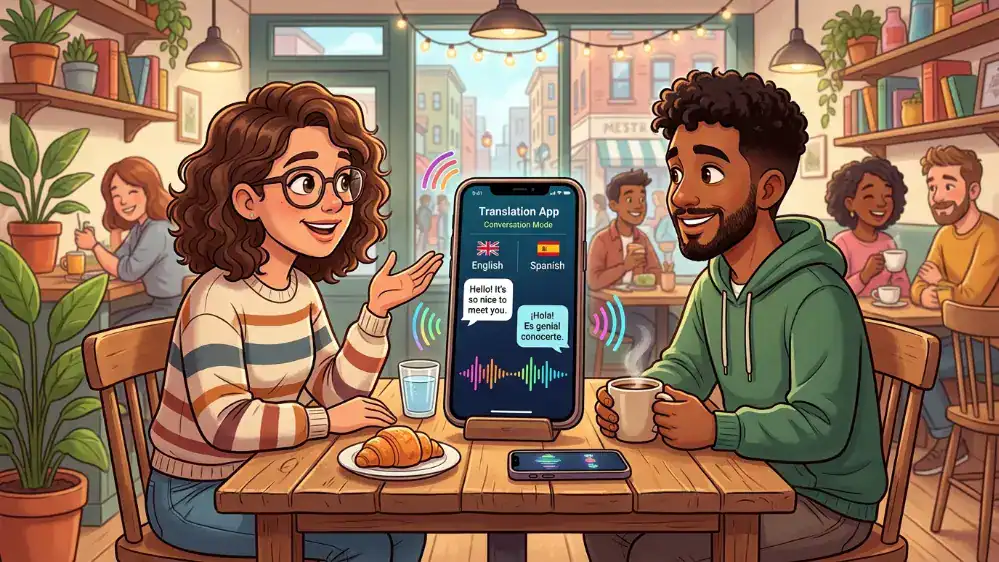
Tap the microphone icon and speak naturally. The app will transcribe what you say and translate it in real time, showing the text on screen while optionally reading the translation aloud. There’s also a conversation mode, marked by two microphone icons side by side, designed for back-and-forth conversations between two people speaking different languages.
Conversation mode is genuinely one of the more impressive features once you get used to it, since it automatically detects which of the two languages is being spoken without you needing to tap anything between turns. Our full voice translation guide covers conversation mode, keyboard integration, and tips for clearer results in noisy environments.
Step 5: Use the Camera to Translate Text
Tap the camera icon to point your phone at any text, a menu, a sign, a label, and the app overlays the translation directly onto the image in real time. This works better than typing when you’re dealing with long blocks of text you don’t want to retype manually, or text in a script you can’t even type on your keyboard.
There’s also an import option inside camera mode for translating a photo you already took, rather than pointing your camera live at something. We break down the difference between live camera mode and importing a saved photo, along with tips for getting sharper results, in our dedicated camera and photo translation guide.
Step 6: Download Languages for Offline Use
Go to the menu, tap Offline Translation, and download the language packs you’ll need. Once downloaded, offline mode activates automatically the moment you lose internet connection, so you won’t even notice the switch happening mid-conversation.
This step is easy to forget until you actually need it, usually somewhere with no signal at all, which is exactly the wrong time to realize you skipped it. Set aside two minutes before any trip to download packs for wherever you’re headed.
Step 7: Save Frequent Translations
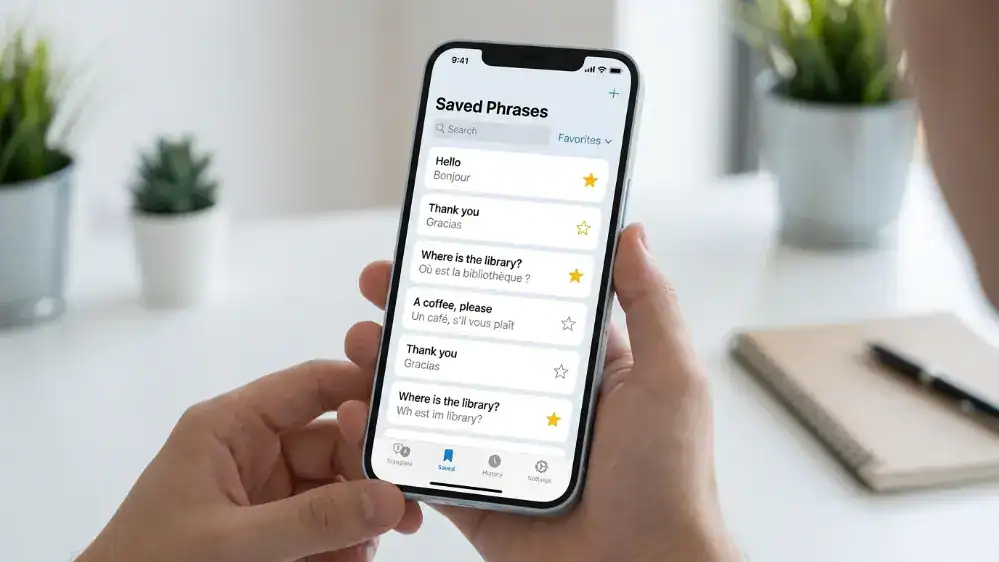
If you translate the same phrases often, tap the star icon next to any translation to save it. This builds a personal phrasebook inside the app that you can access anytime from the saved tab, without needing to retype anything from scratch.
This feature is particularly useful for recurring situations, like ordering the same coffee order every morning in a country where you don’t speak the language, or repeating the same set of work phrases with international colleagues.
Step 8: Use the Keyboard Integration
On Android, once the app is installed, you can enable a translation option directly inside your keyboard settings. This adds a small translate button above your regular keyboard inside any app, letting you type in your language and have it auto-translate before sending, without switching over to the main app.
This is worth setting up if you message people in another language regularly through apps like WhatsApp or a work messaging tool, since it removes the copy-paste step entirely. Our voice and keyboard integration guide covers how to turn this on step by step.
Step 9: Translate Handwritten Text
A less commonly used feature lets you draw characters directly on screen using your finger, which is particularly useful for languages with complex characters, like Chinese or Japanese, where you might recognize a character visually but have no idea how to type it on a standard keyboard. Tap the handwriting icon inside the input options and draw the character stroke by stroke, and the app will suggest matches as you go.
This feature takes a bit of practice to get comfortable with, but it solves a genuine problem that typing simply can’t for people unfamiliar with a script’s input method.
Handling Slang and Idioms
Casual speech is where machine translation still struggles the most. Slang, regional idioms, and sarcasm often get translated literally, which can produce a sentence that’s technically correct but completely misses the intended meaning. If a translation reads strangely or doesn’t make sense in context, try rephrasing your original input using simpler, more literal wording rather than the exact slang term you’d normally use.
This is especially relevant for younger, fast-evolving internet slang, which the translation model may not have been trained on recently enough to recognize. When in doubt, describe what you mean in plain words instead of relying on a trendy phrase to get the point across accurately.
Common Mistakes to Avoid
A lot of people skip downloading offline packs and then get stuck without signal abroad, scrambling to find wifi just to translate a simple sentence. Others don’t realize camera mode exists and spend ages retyping restaurant menus by hand, one word at a time, when a two-second camera scan would have done the whole thing instantly.
Another common mistake is typing overly long or grammatically complex sentences and then being surprised when the translation comes out awkward. Shorter, simpler input almost always produces better output, regardless of which language pair you’re working with.
Take five minutes to explore the settings menu once, and you’ll find most of what makes the app genuinely useful tucked away in places you wouldn’t stumble across just by using the two main text boxes.
Troubleshooting Common Issues
If voice translation isn’t picking up your speech accurately, check your microphone permissions in your phone’s system settings rather than assuming the app itself is broken. If camera translation looks blurry or garbled, improve your lighting and hold the phone steady, since the underlying text recognition needs a clear image to work from.
If offline mode doesn’t seem to be kicking in even after downloading a language pack, double check that you actually selected the correct pack for both directions you need, since some regional dialects are grouped separately from the main language listing.
Using Google Translate for Group Travel
If you’re traveling with a group where not everyone speaks the same language, the app can act as a shared communication tool rather than something each person uses individually. Pass the phone around during a group meal to let each person type or speak their part of the conversation, or set up conversation mode on a table between two or three people and let it handle turn detection automatically.
For larger groups where passing a single phone around isn’t practical, having each person run the app on their own device with the same two languages set as source and target works nearly as well, especially for simple logistics like agreeing on a meeting spot or splitting a bill.
Using It for Work and Business Communication
Beyond travel, plenty of people rely on the app for day-to-day work communication with international colleagues or clients. Typing out an email in your own language and translating it before sending works fine for casual internal messages, though anything client-facing or contractual deserves a human review pass afterward, since tone and formality don’t always translate as cleanly as factual content does.
Voice mode also comes in handy during quick calls with international partners when a professional interpreter isn’t available or practical for a short, low-stakes conversation. It won’t replace a real interpreter for anything high-stakes, like a negotiation or legal discussion, but it closes the gap well enough for routine coordination.
Customizing the App to Fit Your Habits
A few lesser-known settings are worth adjusting based on how you personally use the app. If you translate mostly through voice, increasing microphone sensitivity in the settings menu can noticeably improve accuracy in busier environments like cafes or streets. If you rely heavily on camera mode, toggling on the option to keep the overlay active while moving the phone slightly avoids having to hold perfectly still for every scan.
You can also set the app to always ask which language to detect versus assuming your last used pair, which helps if you frequently switch between more than two languages throughout the day rather than sticking to one consistent pair.
Frequently Asked Questions
Can two people use conversation mode without both having the app installed?
No, conversation mode requires the app to be open on at least one device that both people can see and speak into. Only one phone is needed since it detects both languages automatically once set up.
Does typing in all capital letters or with typos affect translation quality?
Typos can noticeably reduce accuracy since the model translates based on recognized words. Capitalization generally doesn’t matter much, but clear spelling does.
Is there a limit to how much text I can translate at once?
The app handles reasonably long passages well, though extremely long documents are better suited to the browser version’s document upload feature rather than pasting directly into the mobile app’s text box.
Can I edit a translation after it’s generated?
You can edit your original input and retranslate, but the app doesn’t let you manually adjust the output text within the translation box itself. For fine-tuning wording, you’d need to make the edit in whatever app you paste the final translation into.
Final Thoughts
Once you know where everything lives, using Google Translate becomes second nature. The core skill is knowing which mode fits the moment: typing for short phrases, camera for signs and menus, voice for conversations, handwriting for unfamiliar scripts, and offline mode for anywhere without signal. Spend a few minutes exploring each mode before you actually need it under pressure, and the app will feel far less clunky the next time a real situation calls for it.